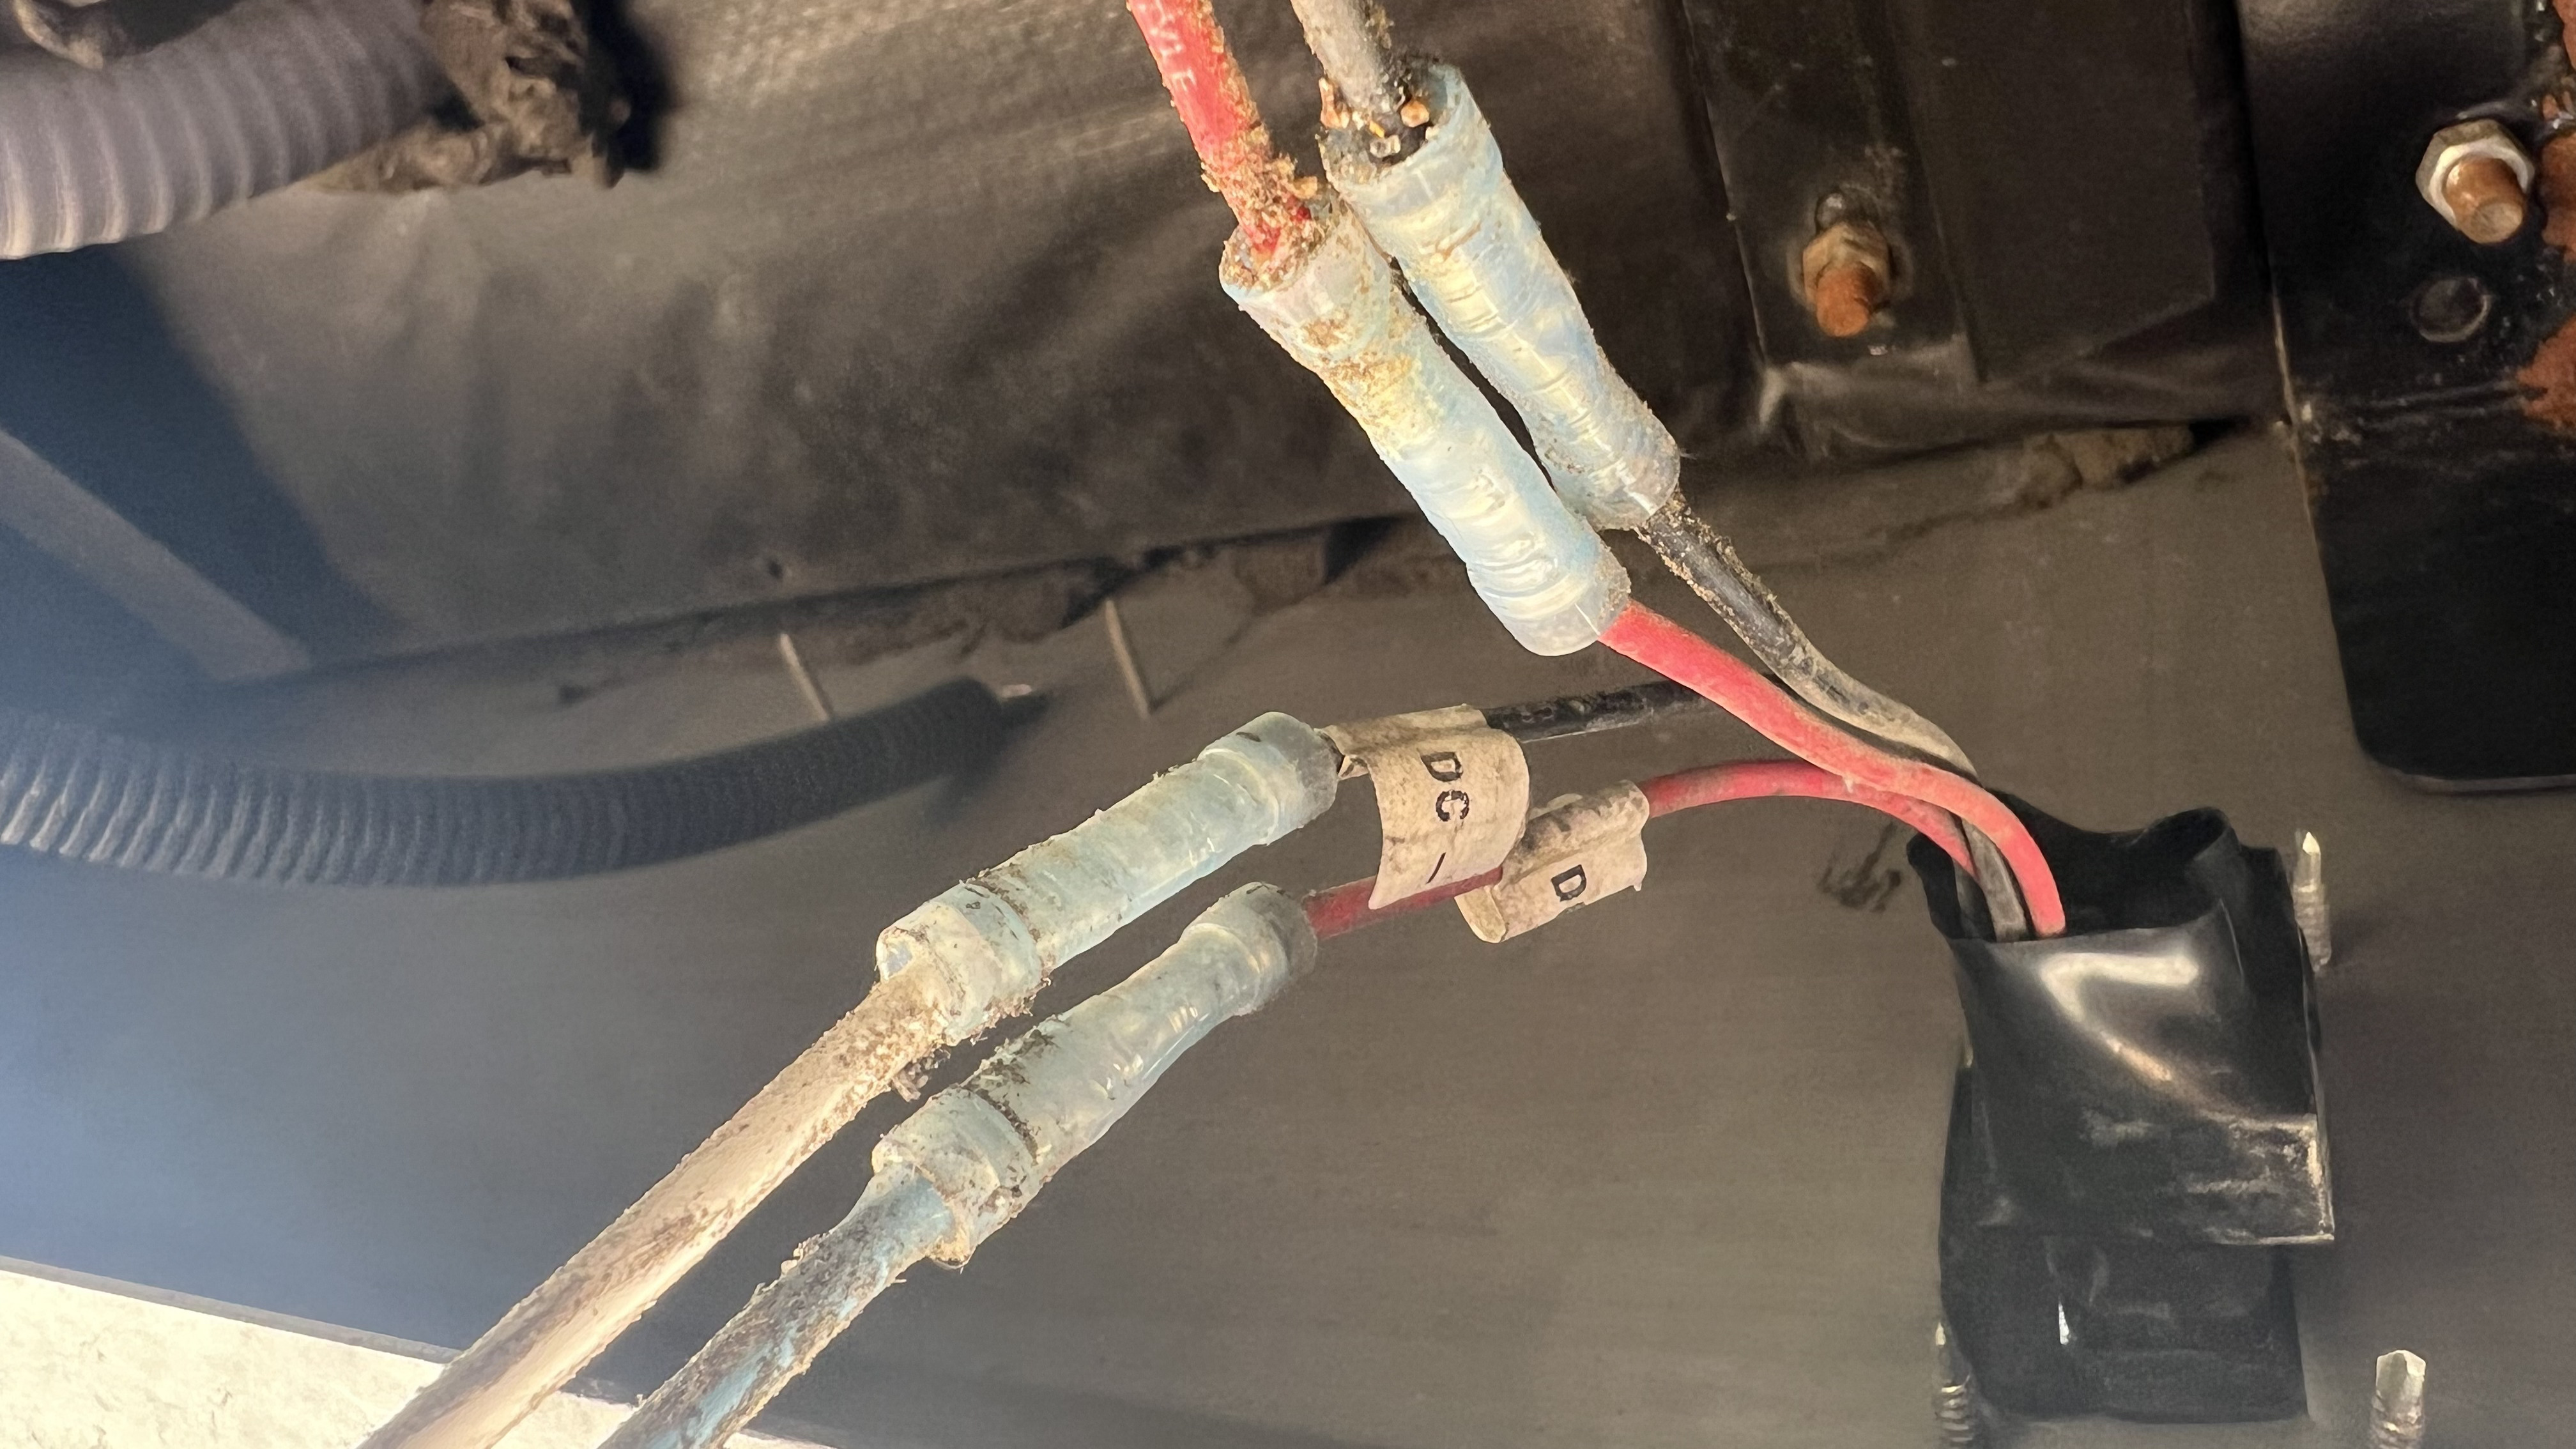
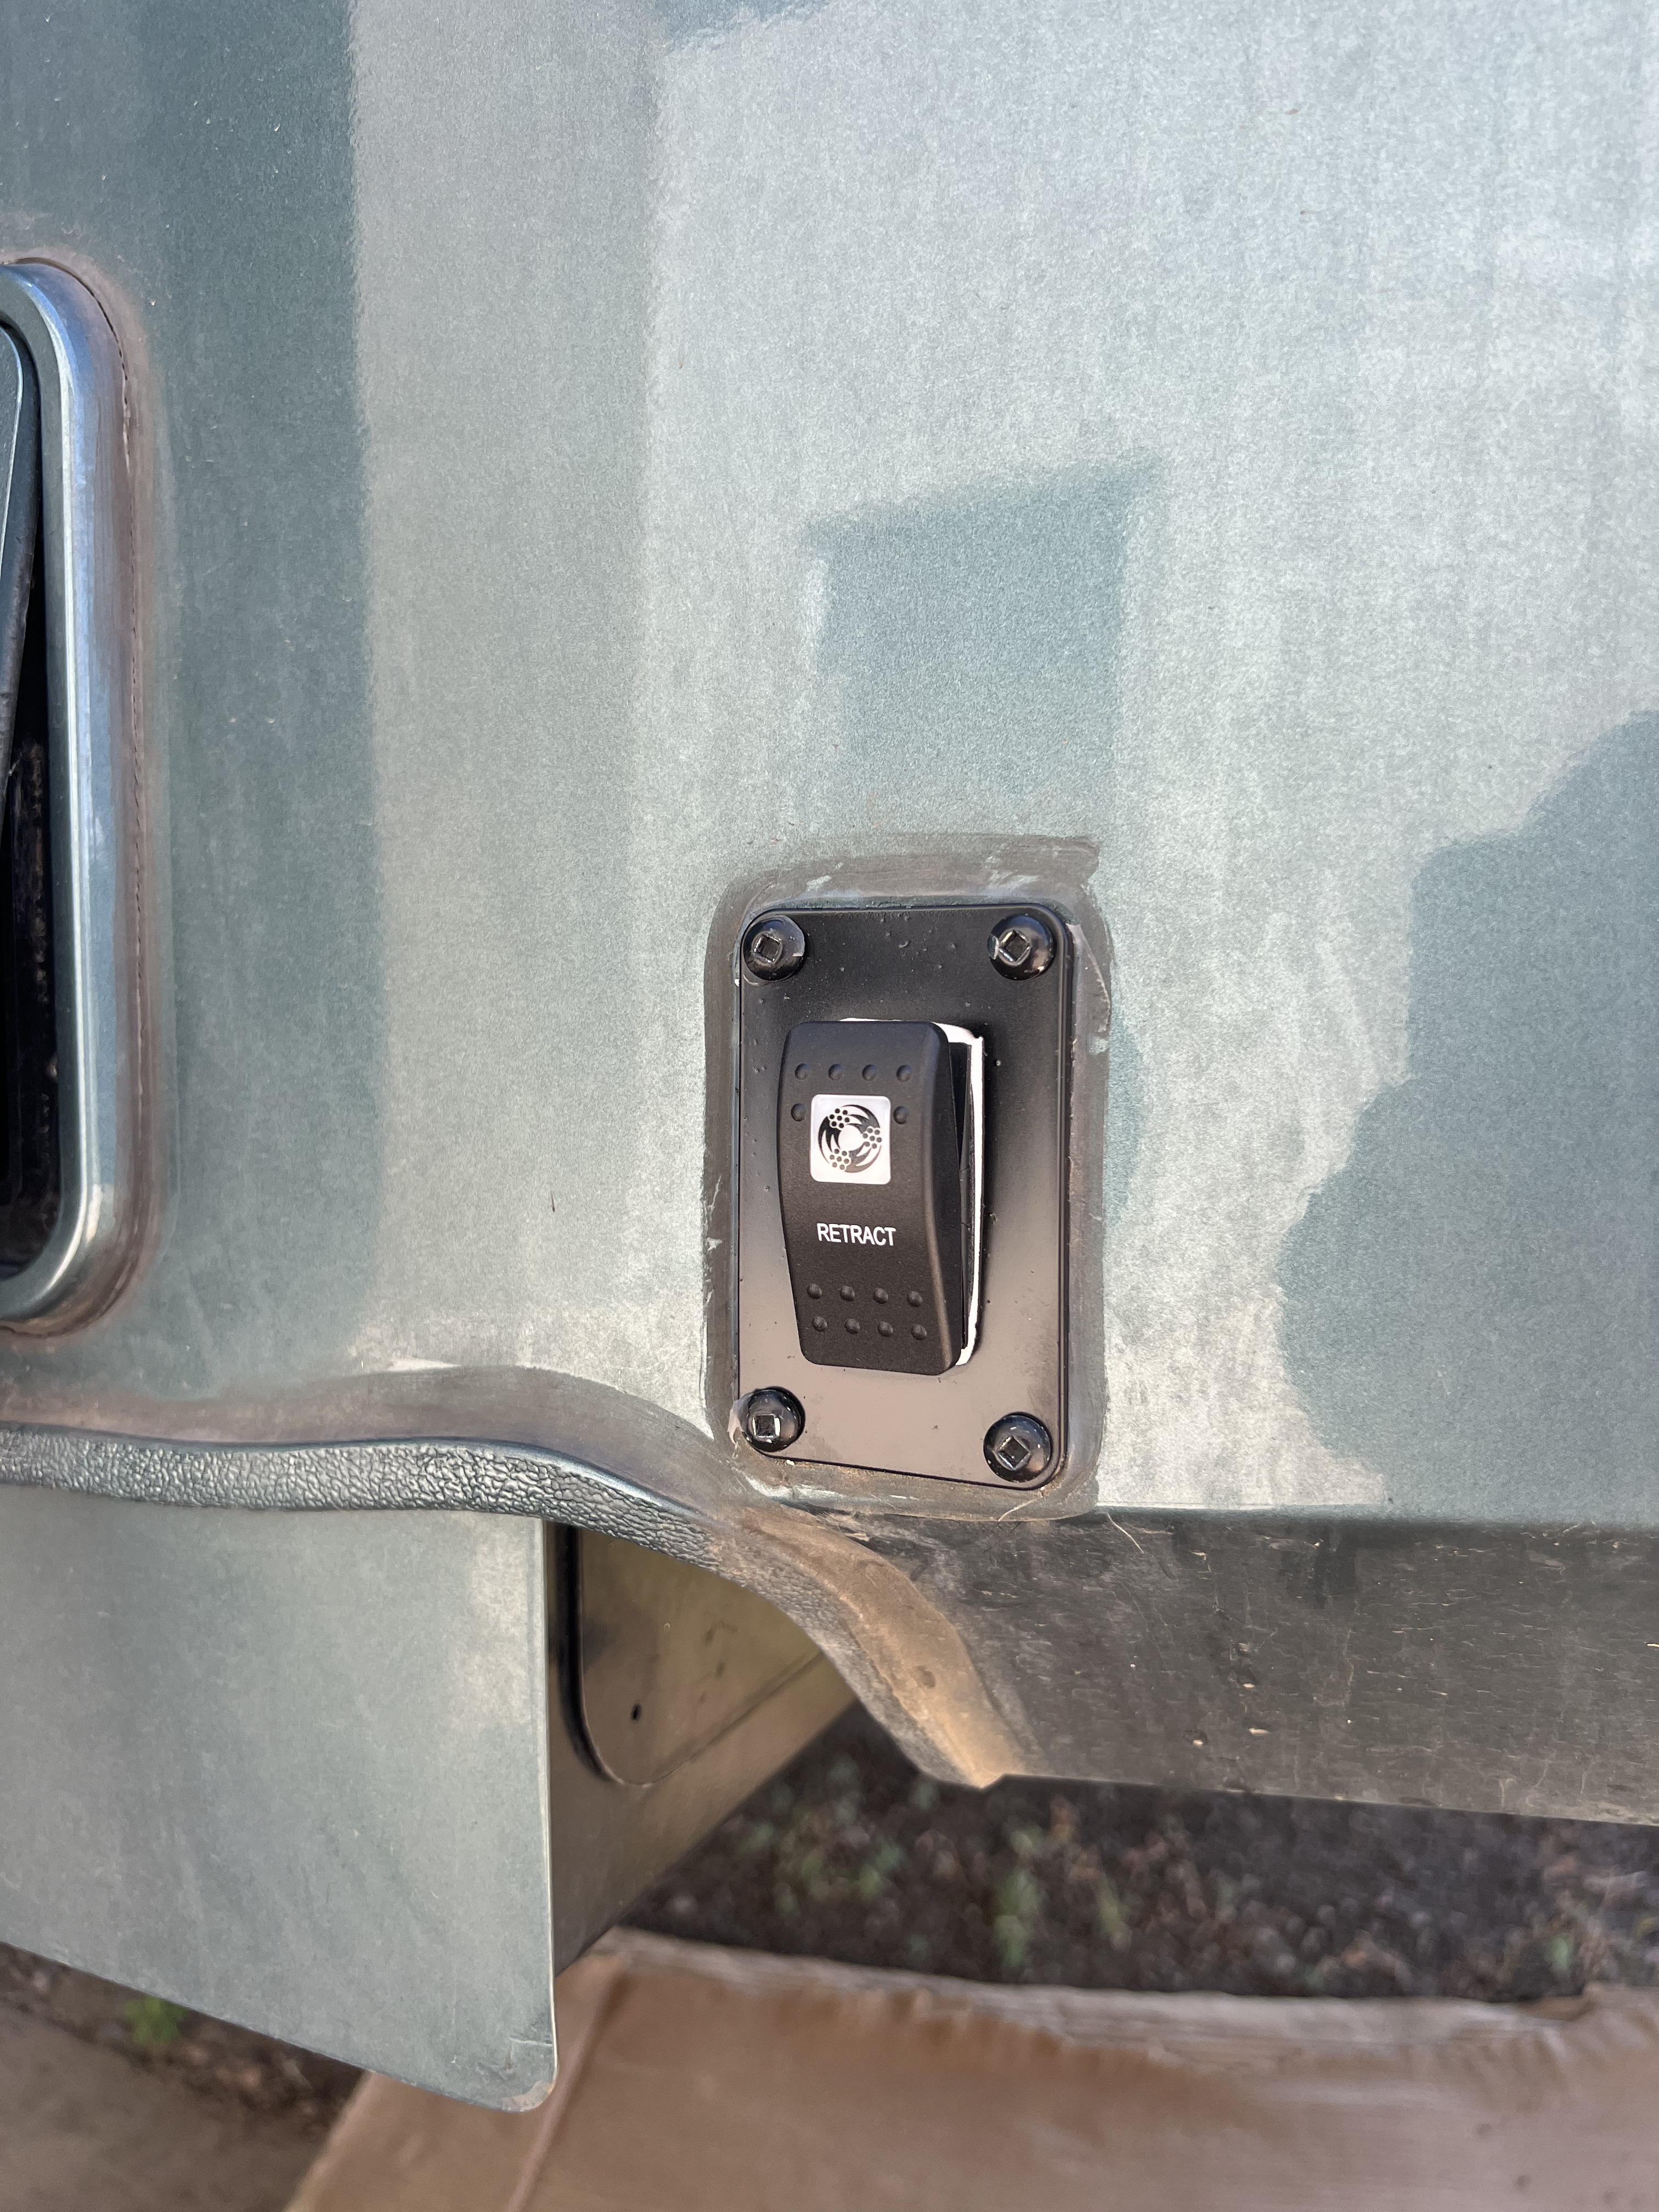
Hey Spud, having the power cord wrapped around the bumper if it won’t go back on the reel would not be ideal. I hoping replacing the switch should solve the issue.
For the slides there usually two styles: hydraulic (bigger heavier rooms) and electric (Schwintek for smaller lighter rooms). The Vanleigh manual, page 207, states this for the hydraulic slides:
HYDRAULIC SLIDE-OUT MANUAL OVERRIDE
In the event you must manually override the hydraulic slideouts, Vanleigh RV recommends
that you do not attempt the process yourself. Instead, contact your authorized dealer,
authorized service center, or Vanleigh RV customer service if there are problems with your
hydraulic slide-outs.
I did find some Lippert documentation about the hydraulic slide manual override that states the following, (https://techsupport.pdxrvwholesale.com/wp-content/uploads/2019/03/Lippert-LIP-Sheet-0071.pdf)
To Manually Override Leveling Jacks or Slideout if the above problems do not fix the issue:
1. Unbolt Power Unit Mounting Plate from the floor of the storage compartment and turn it to access the Manual Override in the end of the Motor.
NOTE: DO NOT manually override both the slideout and the jacks at the same time.
2. Remember to always extend the Leveling Jacks first and then extend the Slideout. When retracting the Slideout and Leveling Jacks, retract Slideout first and then Leveling Jacks. This pertains to the Manual Override procedure as well as normal operation.
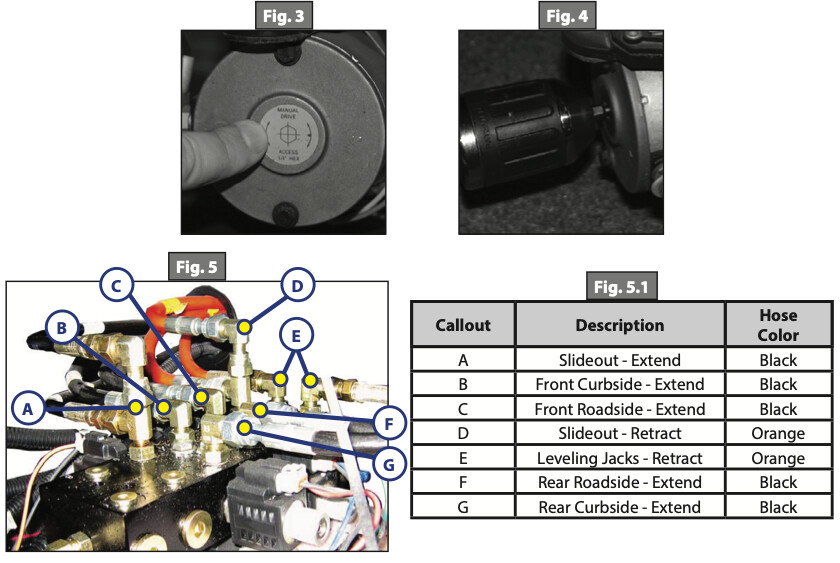
3. Locate all valves that operate the Leveling Jacks and the Slideout. There will be four Leveling Jack Valves and one Slideout Valve. The Slideout Valve will have two black hoses entering the port whereas the Leveling Jacks will only have one black hose each (Fig. 5 pg. 2).
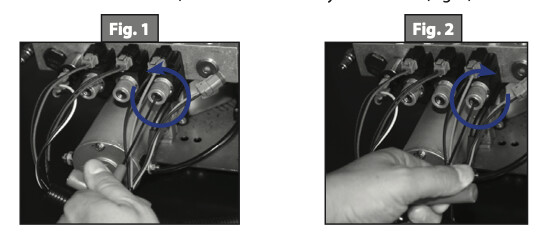
4. Locate the hex head receptacle at the end of the valve. This is the Manual Override for the valve. It should normally be in the fully counterclockwise position (Fig. 1). By turning the Manual Override clockwise with a 1/8” Allen wrench, the valve is Manually Overridden (Fig. 2). See NOTE on Page 2.
5. Once the Valve(s) are Manually Overridden, the Motor can now be overridden using a hand drill with a 1/4” hex head bit. Peel off protective label covering the Override (Fig. 3). Run the drill clockwise to extend the Leveling Jacks or Slideout and counterclockwise to retract (Fig. 4).
Once the Leveling Jacks and Slideout have completed their operation, turn all Manual Overrides to the Normal or counterclockwise position to close the valves. (Fig. 1 pg. 1).
NOTE: Some units may have a new style of hydac valve with a Deutsch-style coil (Fig. 6). The manual override will operate the same via the hex head receptacle at the end of the valve (Fig. 6A).
For the Schwintek style slides it’s a bit easier and is detailed in the Vanleigh manual, page 209. In a previous RV, I’ve used the Electronic manual override process, which was fairly easy. I haven;t had to use either of the other two processes luckily.
SCHWINTEK IN-WALL SLIDEOUT SYSTEM MANUAL OVERRIDE If the electric IN-WALL slideout does not extend or retract, follow these steps to override the system (it will be easier if you have one or more persons to assist you):
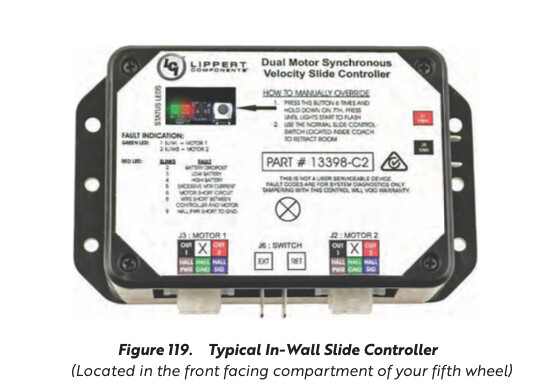
Electronic manual override (for board revision C1 and newer):
1. Locate the circuit board.
2. Press the MODE button six (6) times quickly, press a seventh (7th) time and hold for approximately five (5) seconds.
3. The RED and GREEN LED lights will begin to flash, confirming the override mode.
4. Release the MODE button.
5. Back inside the RV, press and hold the appropriate Slide IN button until the room retracts completely.
Manually push the slide room in override:
1. Locate the circuit board.
2. Unplug both motors from circuit board (this releases the motor brake).
3. Push or pull slide room in as desired.
• Larger rooms may require several people to push.
• Keep both sides of room relatively even.
4. When the slide is completely in, plug both the motors back in to the control board
(this applies the motor brake for road travel).
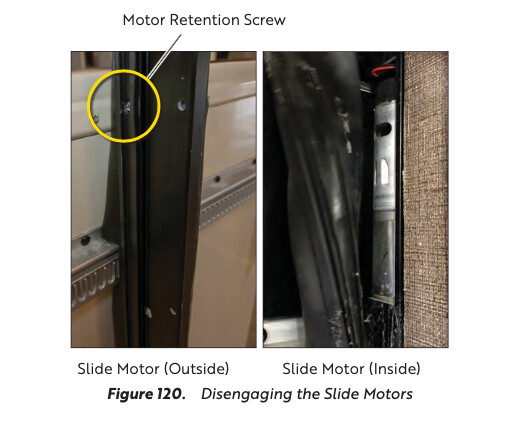
Disengage motors, manually retract room and travel lock:
1. On the outside of the slide, Locate and remove motor retention screw located near the top of each vertical column on the side.
2. On the inside of the slide, bend back the wipe seal and visually locate motor.
3. Pull the motor up until disengaged, about 1⁄2˝. Replace the motor retention screw to hold the motor in this position.
4. Repeat this process for both sides of the slide room.
5. Push or pull the slide room back in to the opening, keeping the side of the slide room relatively even.
6. Re-engage motor to be ready for travel.